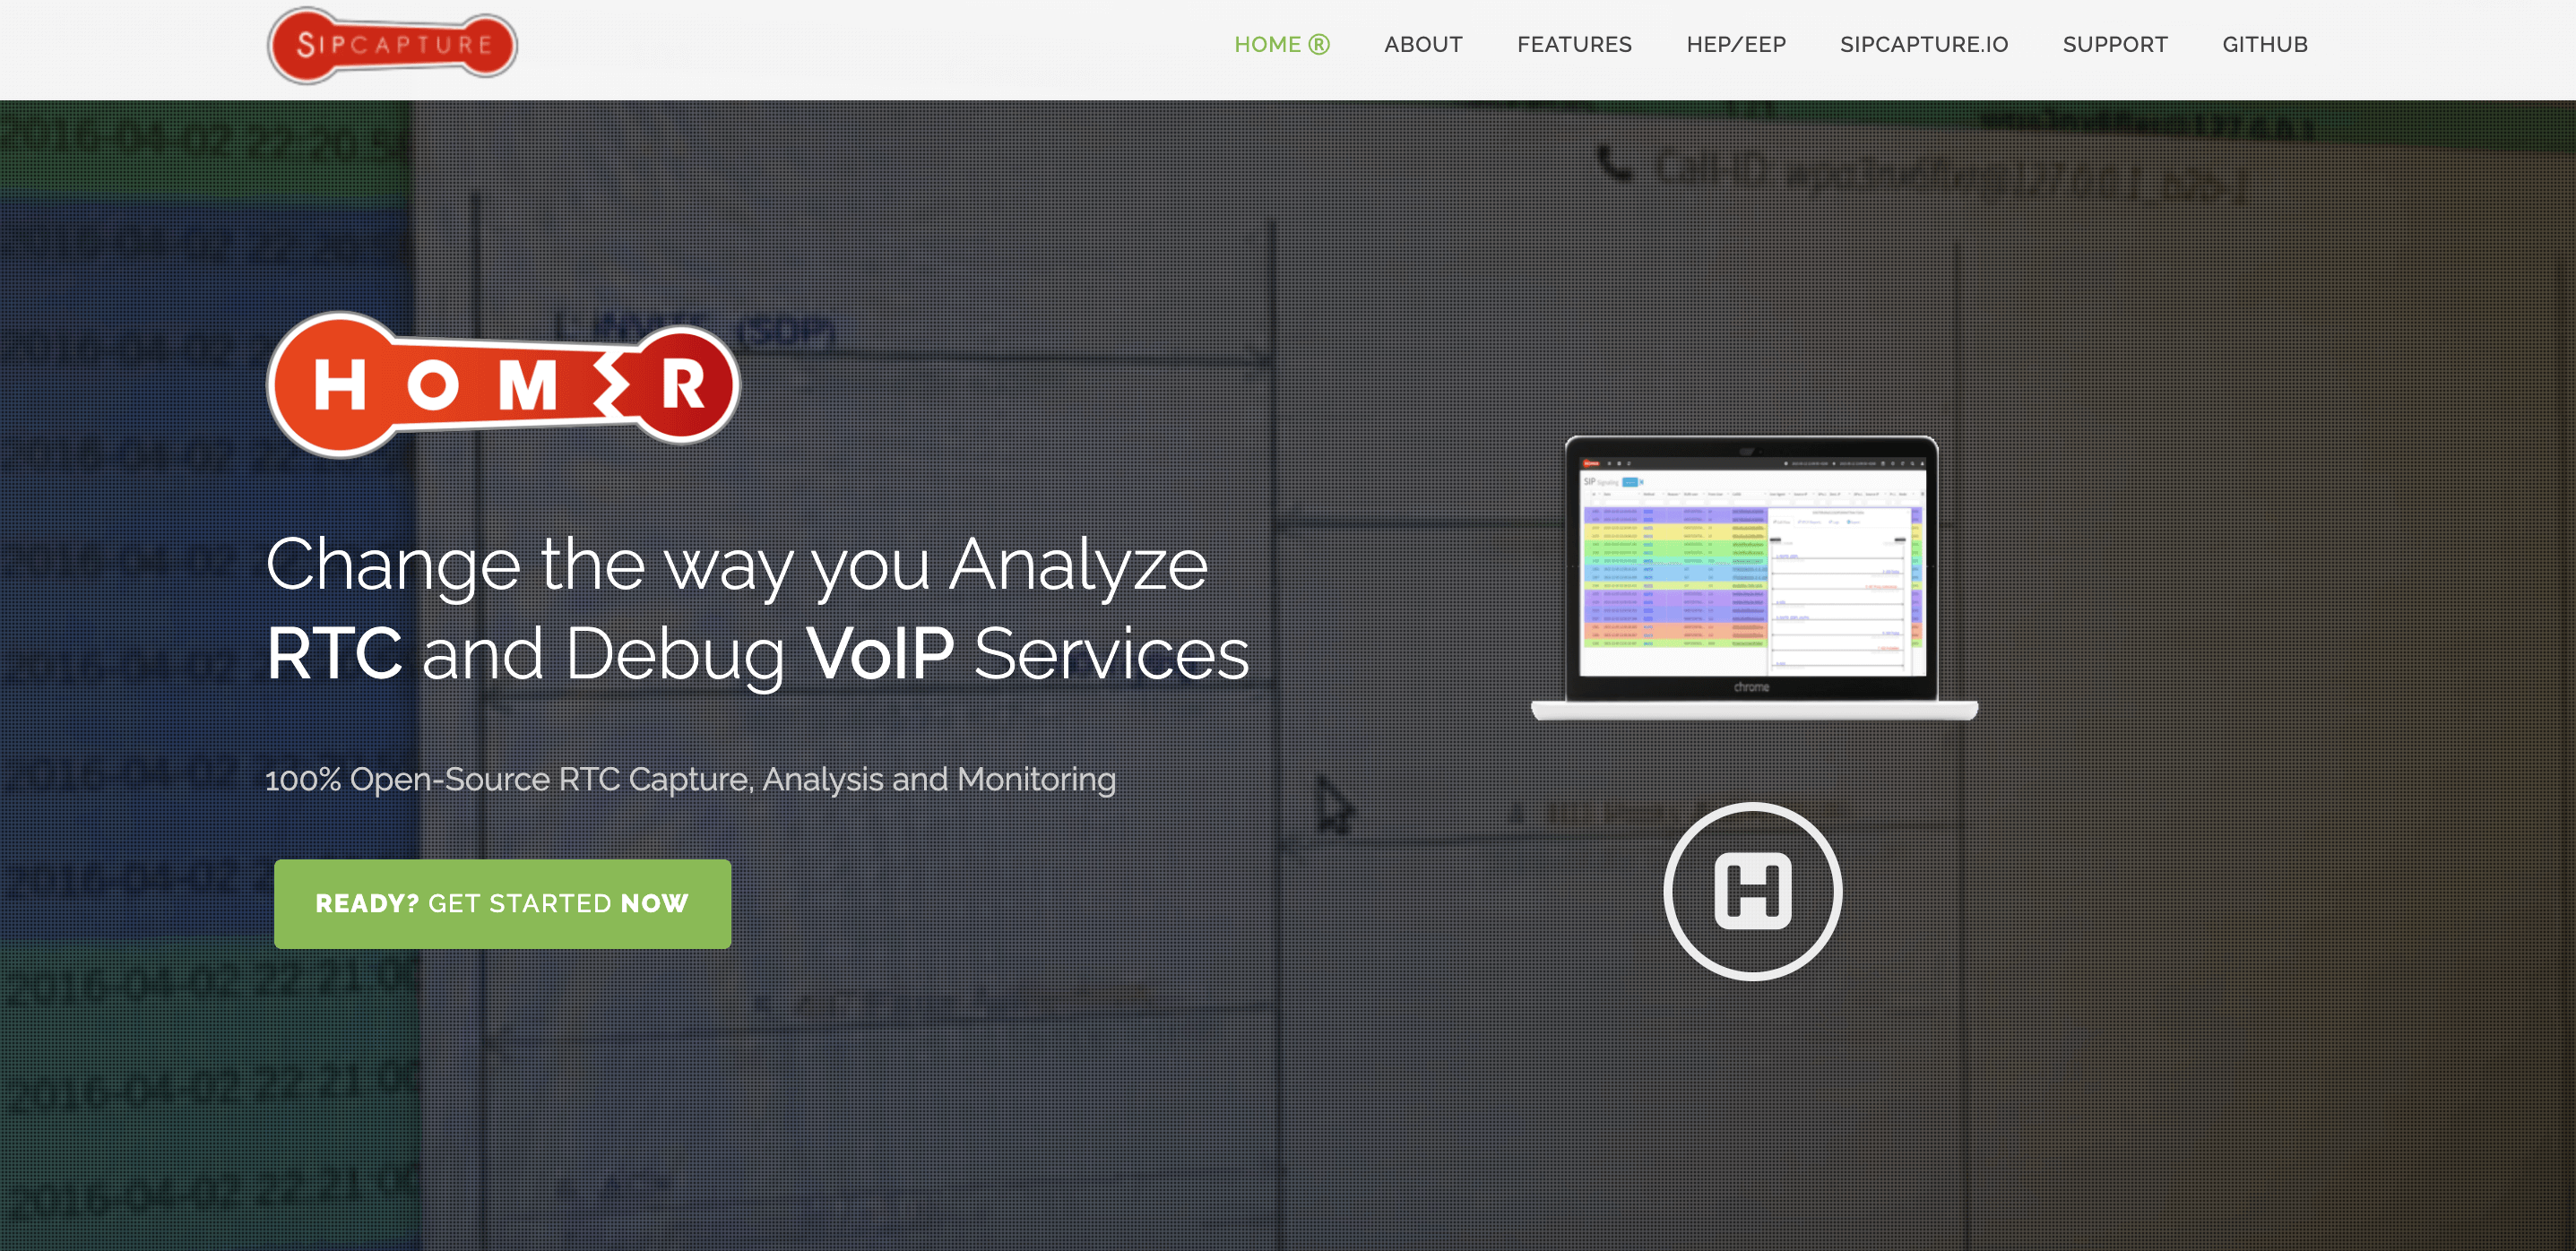
What is Homer? Normally, If VoIP engineer would like to analyse packets, what kind of tools do you use?https://sipcapture.org/ https://github.com/sipcapture/homer/wiki
Install Homer There are 3 ways for install Homer.
Add repository
curl -s https://packagecloud.io/install/repositories/qxip/sipcapture/script.rpm.sh?any=true | sudo bash
If run this script, made repo file qxip_sipcapture.repo on /etc/yum.repos.d
Install each components
sudo yum install epel-release
heplify-server requires package for LuaJIT.
sudo yum install heplify
sudo yum install heplify-server
sudo yum install homer-app
install PostgreSQL Install PostgreSQL.https://www.postgresql.org/download/linux/redhat/
Create user, DB and setting If run script that according manual for create Homer DBs, it will failed. because no set password for user postgres.
postgres=# ALTER USER postgres WITH PASSWORD ‘postgres’;
postgres=# CREATE ROLE homer_user Superuser;
postgres=# ALTER ROLE homer_user WITH PASSWORD ‘postgres’;
postgres=# ALTER ROLE homer_user LOGIN;
sudo homer-app -create-config-db -database-root-user=homer_user -database-host=localhost -database-root-password=postgres -database-homer-user=homer_user
sudo homer-app -create-data-db -database-root-user=homer_user -database-host=localhost -database-root-password=postgres -database-homer-user=homer_user
Run scripts for create DBs.
postgres=# \l
List of databases
Name | Owner | Encoding | Collate | Ctype | ICU Locale | Locale Provider | Access privileges
--------------+------------+----------+-------------+-------------+------------+-----------------+---------------------------
homer_config | homer_user | UTF8 | en_US.UTF-8 | en_US.UTF-8 | | libc |
homer_data | homer_user | UTF8 | en_US.UTF-8 | en_US.UTF-8 | | libc | =Tc/homer_user +
| | | | | | | homer_user=CTc/homer_user
There are 2 DBs, homer_config and homer_data.
sudo vi /usr/local/homer/etc/webapp_config.json
.
“database_config”: {
“help”: “Settings for PGSQL Database (settings)”,
“host”: “localhost”,
“keepalive”: true,
“name”: “homer_config”,
“node”: “LocalConfig”,
“pass”: “postgres”,
“user”: “homer_user”
},
“database_data”: {
“localnode”: {
“help”: “Settings for PGSQL Database (data)”,
“host”: “127.0.0.1”,
“keepalive”: true,
“name”: “homer_data”,
“node”: “LocalNode”,
“pass”: “postgres”,
“user”: “homer_user”
}
change pass from “homer_password” to “postgres”.
sudo homer-app -create-table-db-config
sudo homer-app -populate-table-db-config
sudo homer-app -upgrade-table-db-config
Create Tables, Populate defaults, Upgrade.
sudo systemctl start heplify-server
sudo systemctl start homer-app
sudo systemctl enable heplify-server
sudo systemctl enable homer-app
start services.
FATAL: password authentication failed for user “postgres”
an error on log of PosrgreSQL on /var/lib/pgsql/15/data/log.
vi sudo /etc/heplify-server.toml
DBUser = “homer_user”
DBPass = “postgres”
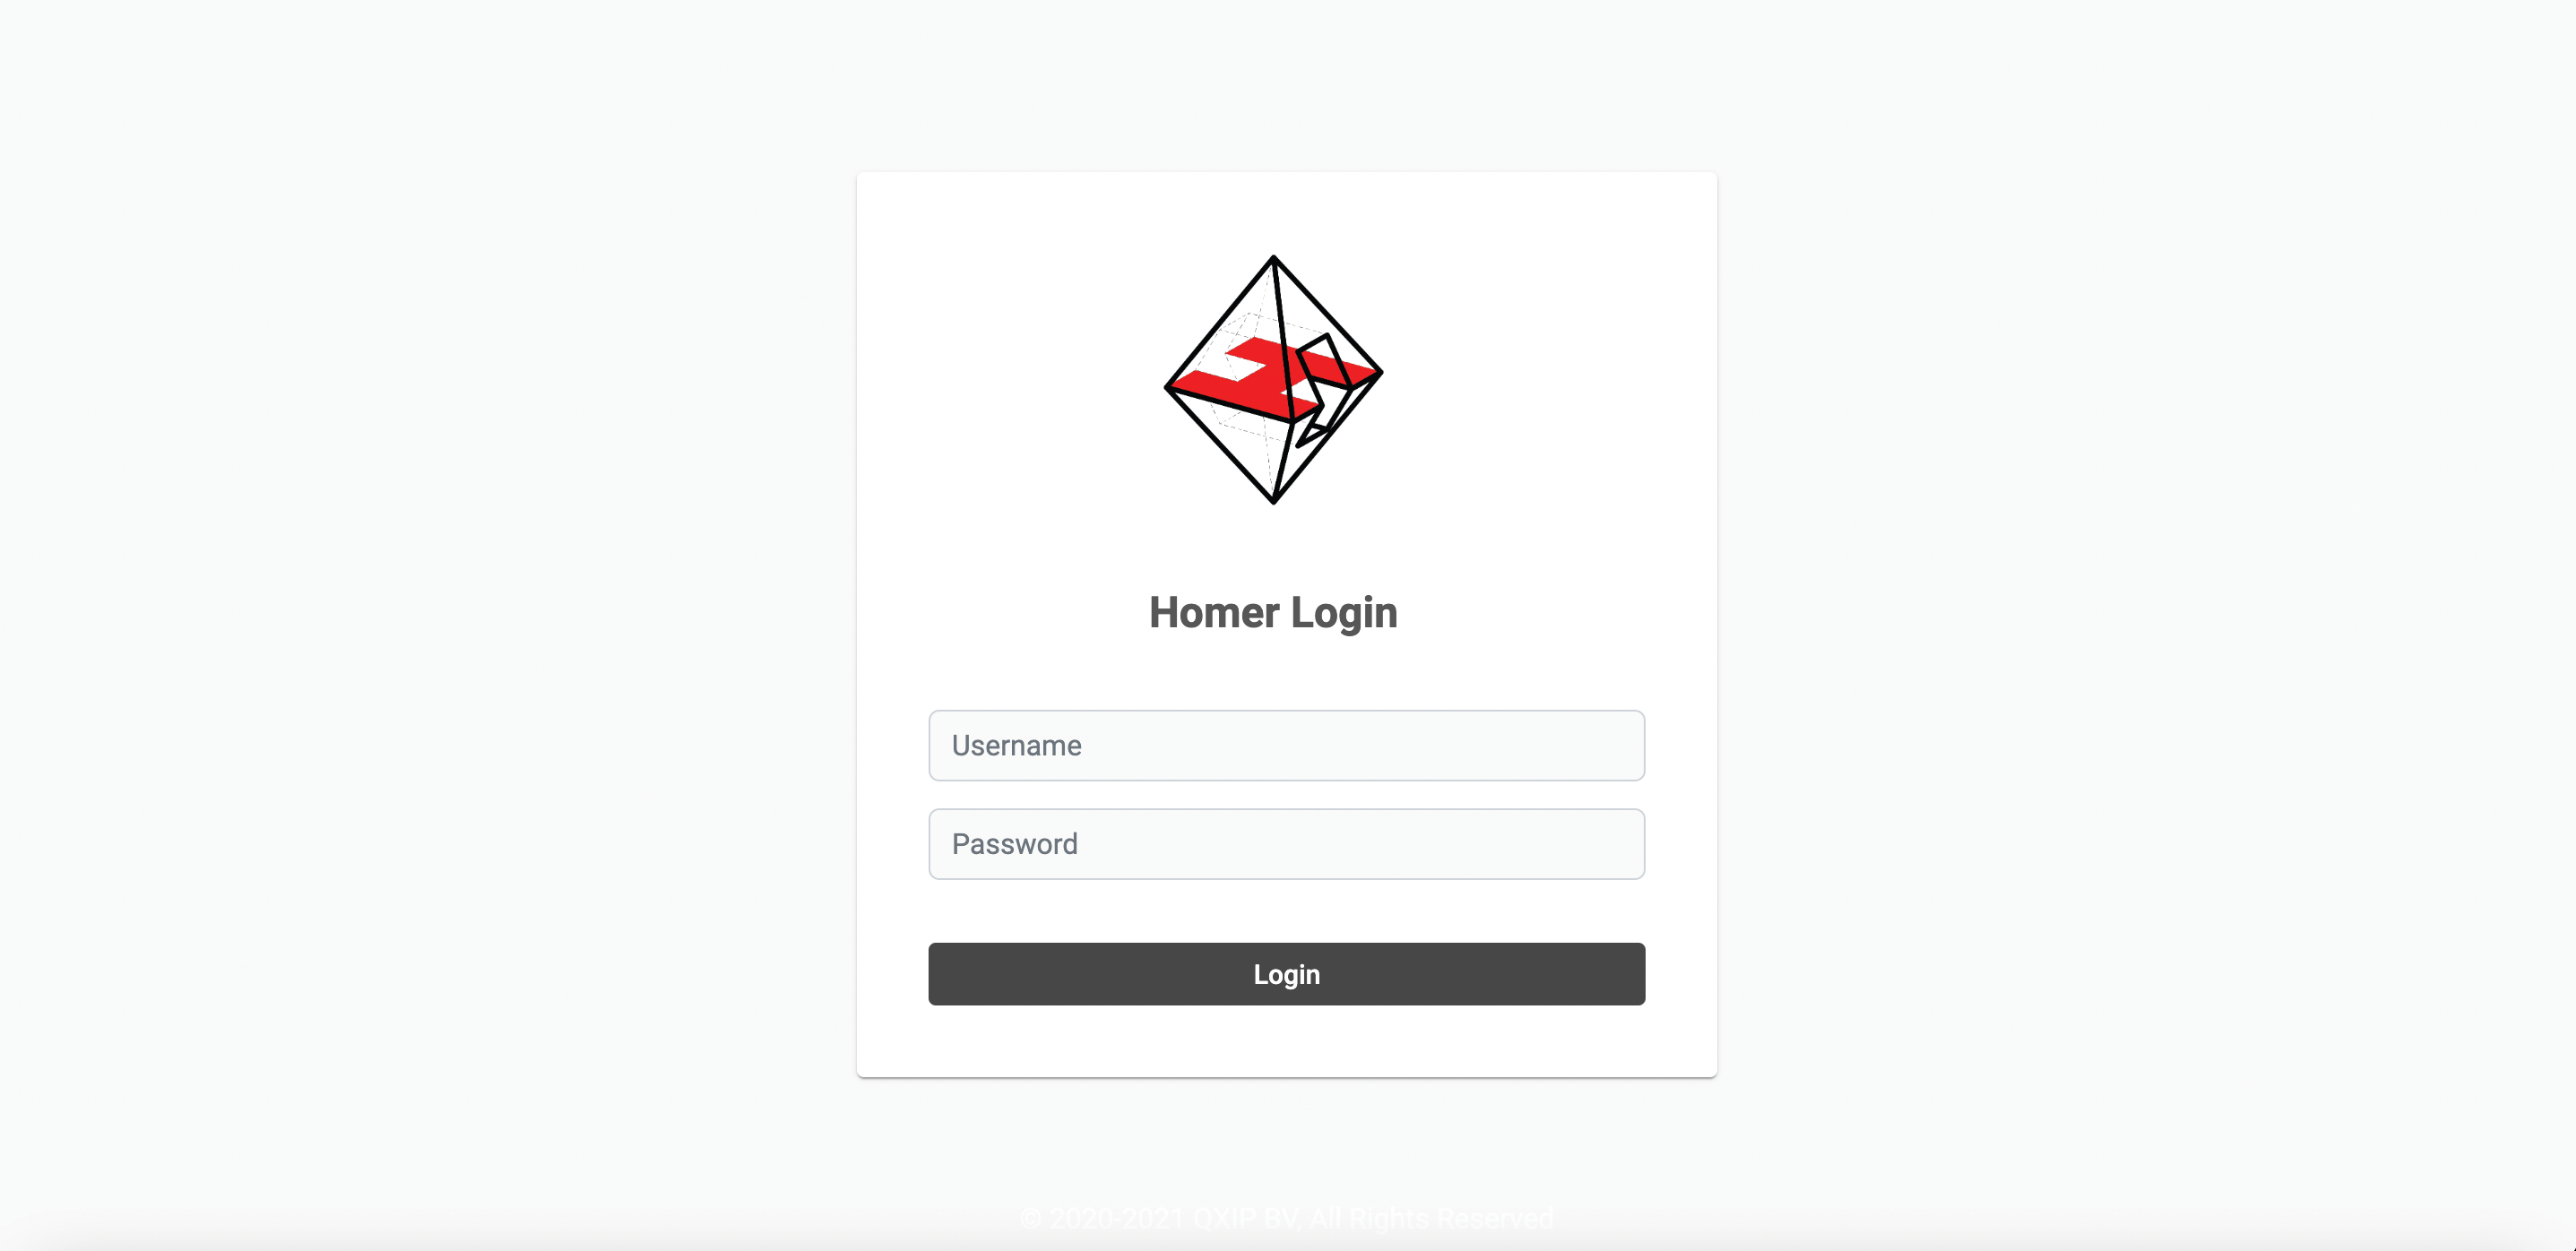
Login You can access with http://<IP ADDRESS>:9080
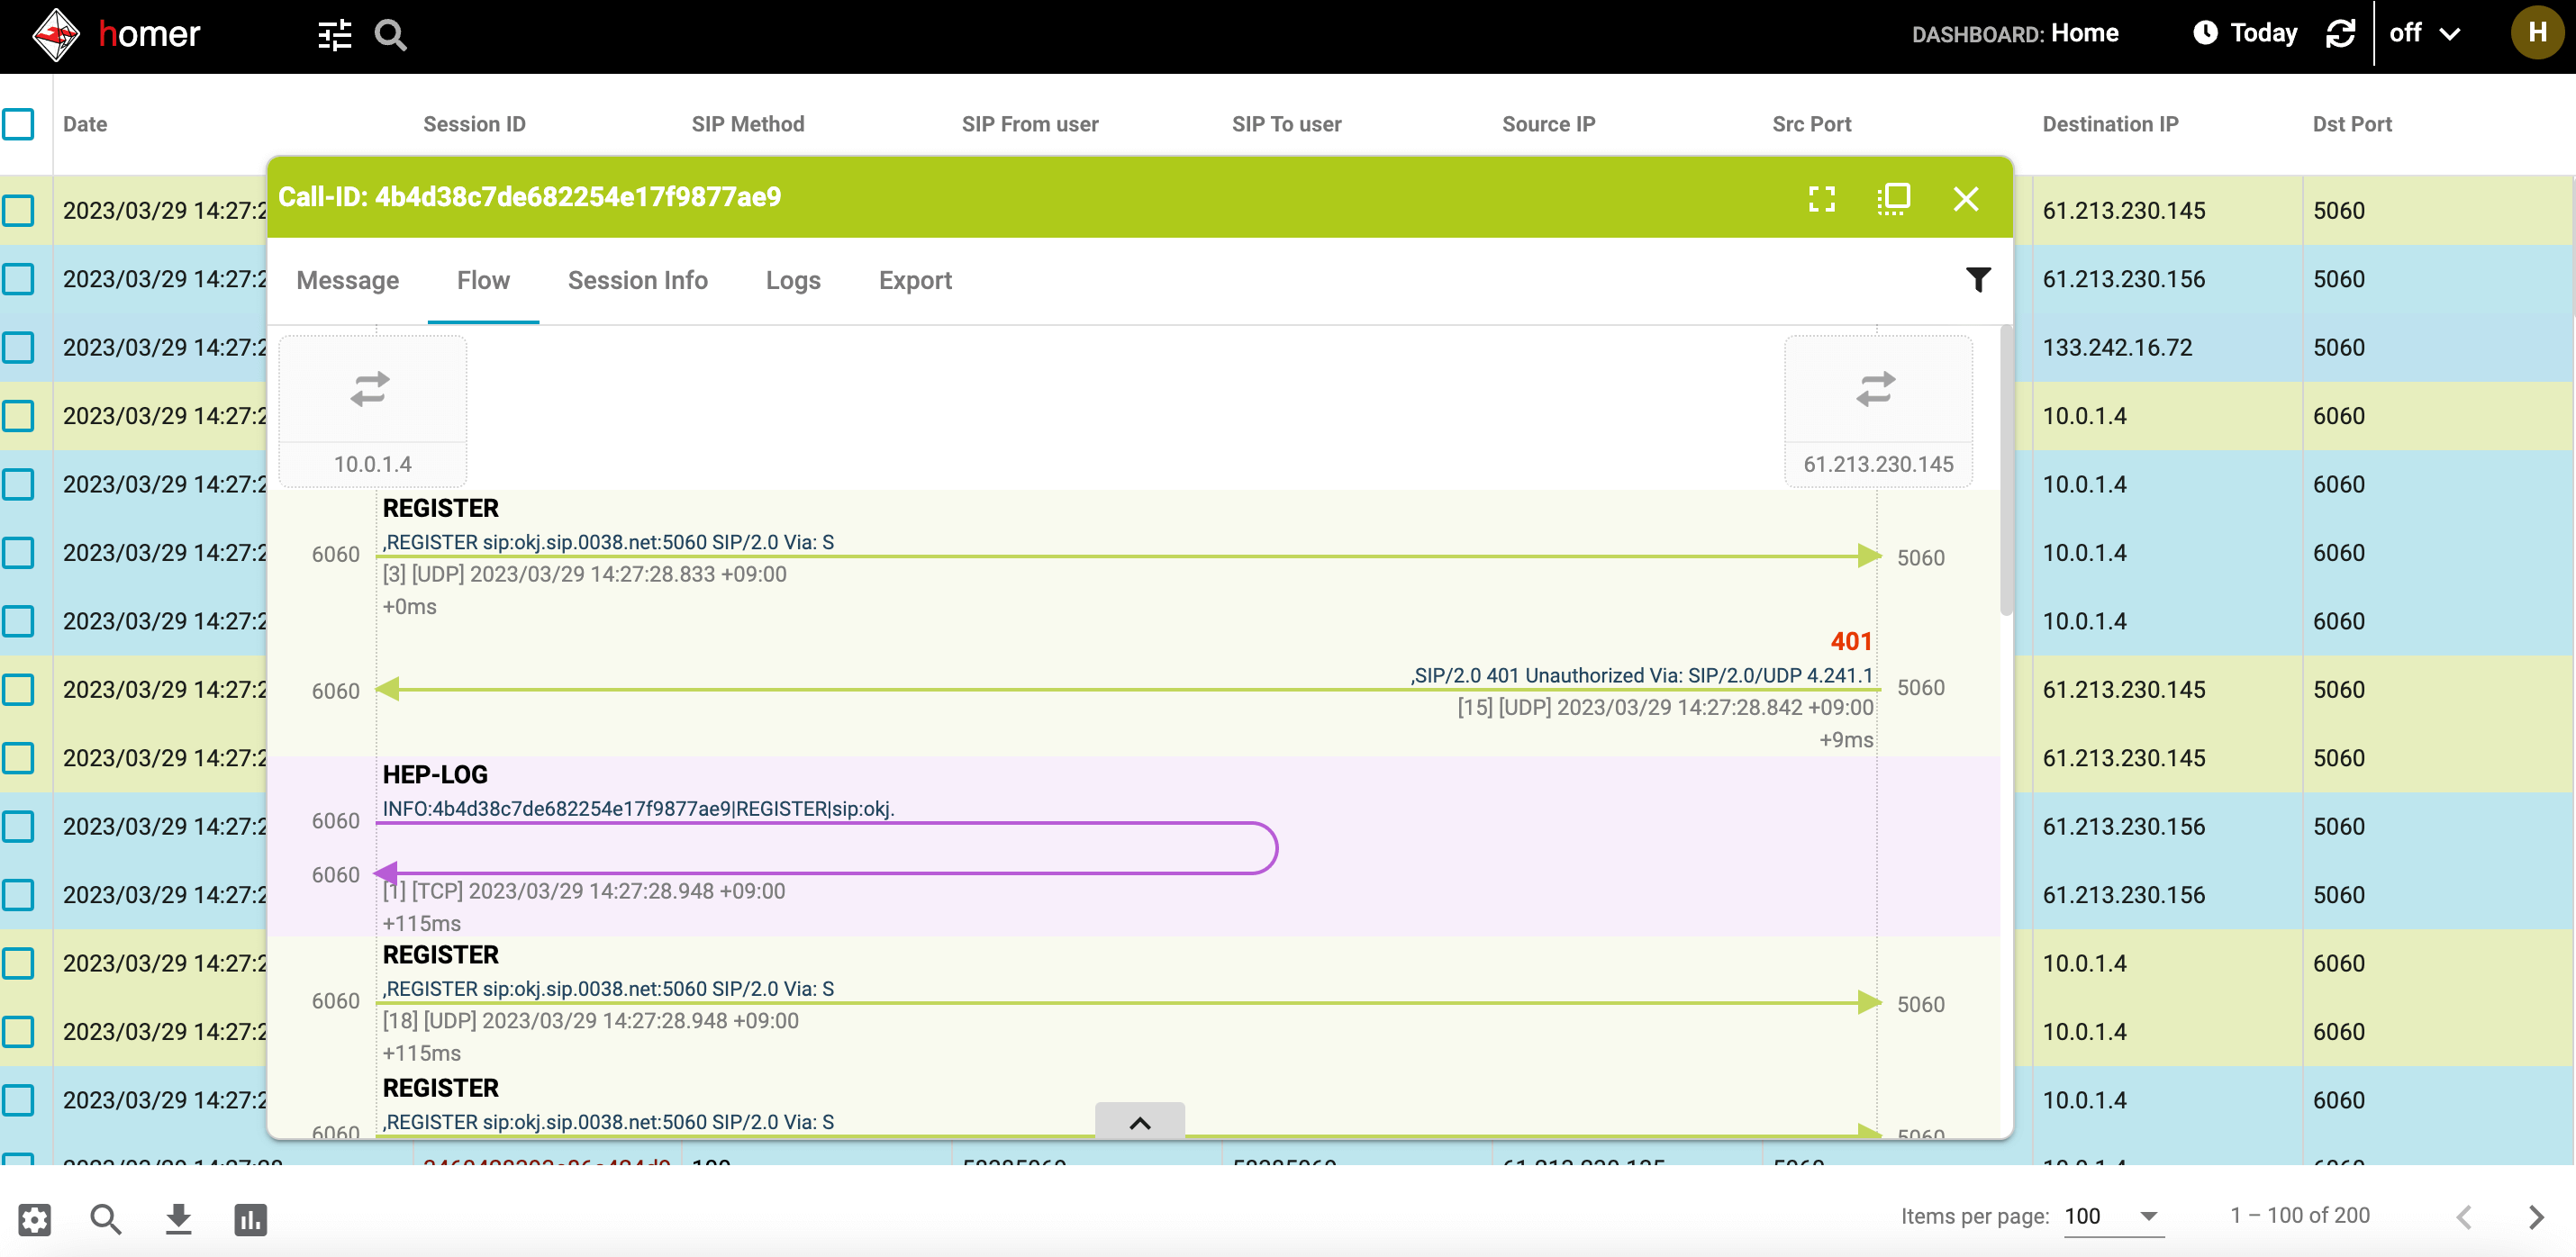
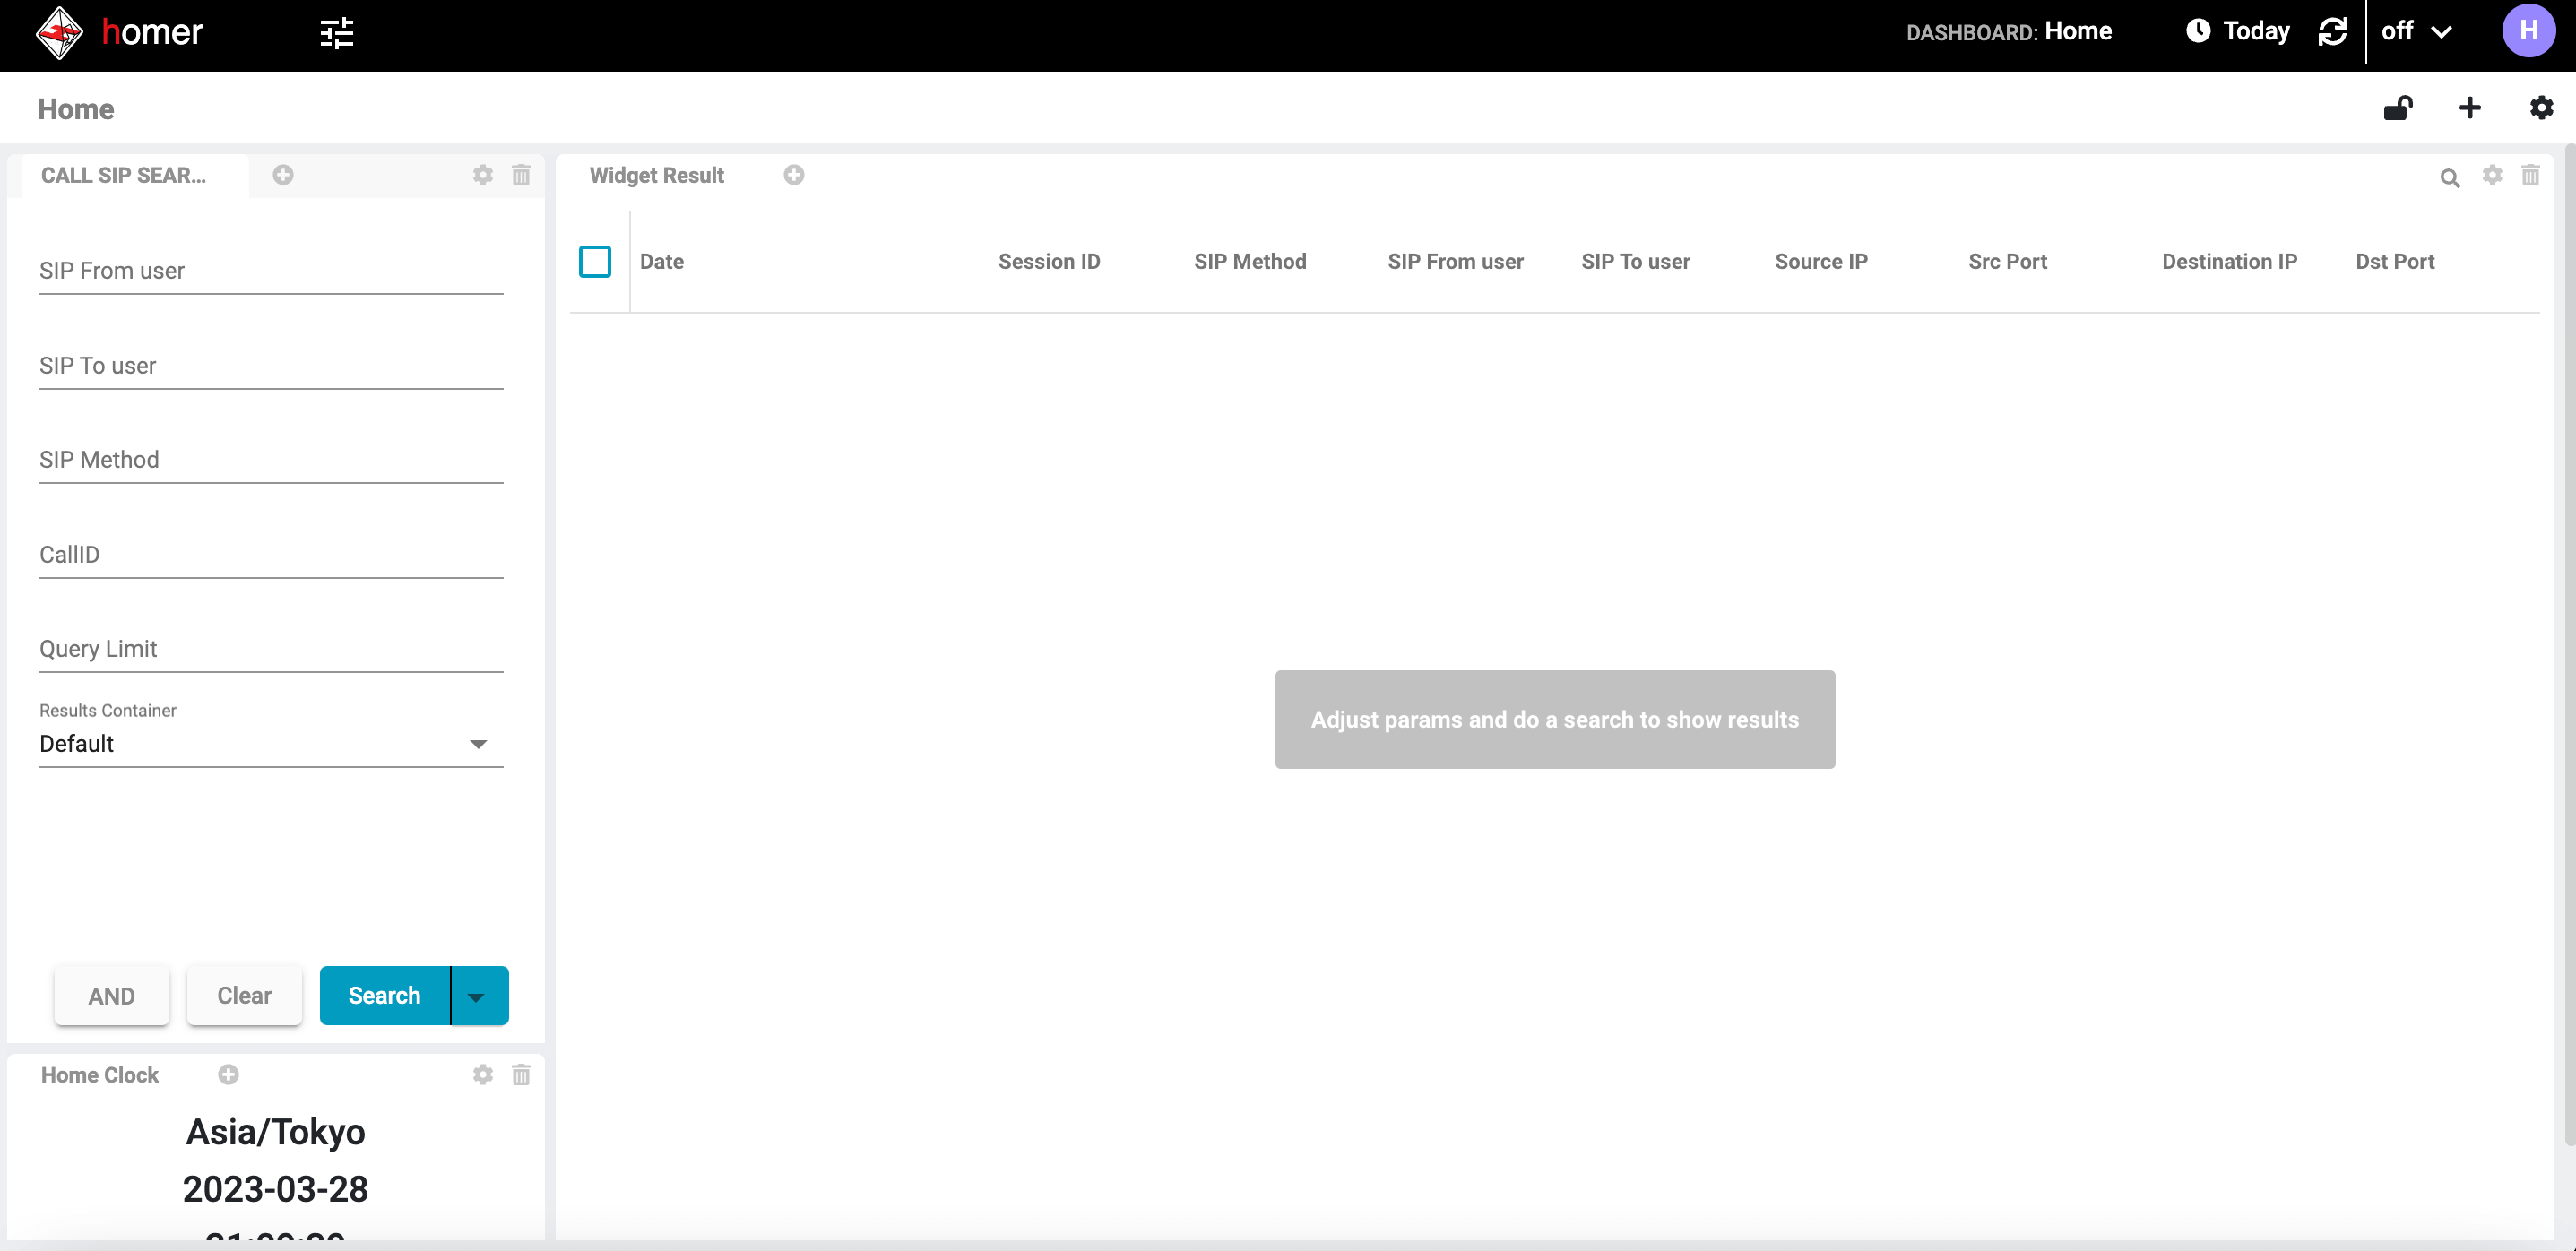
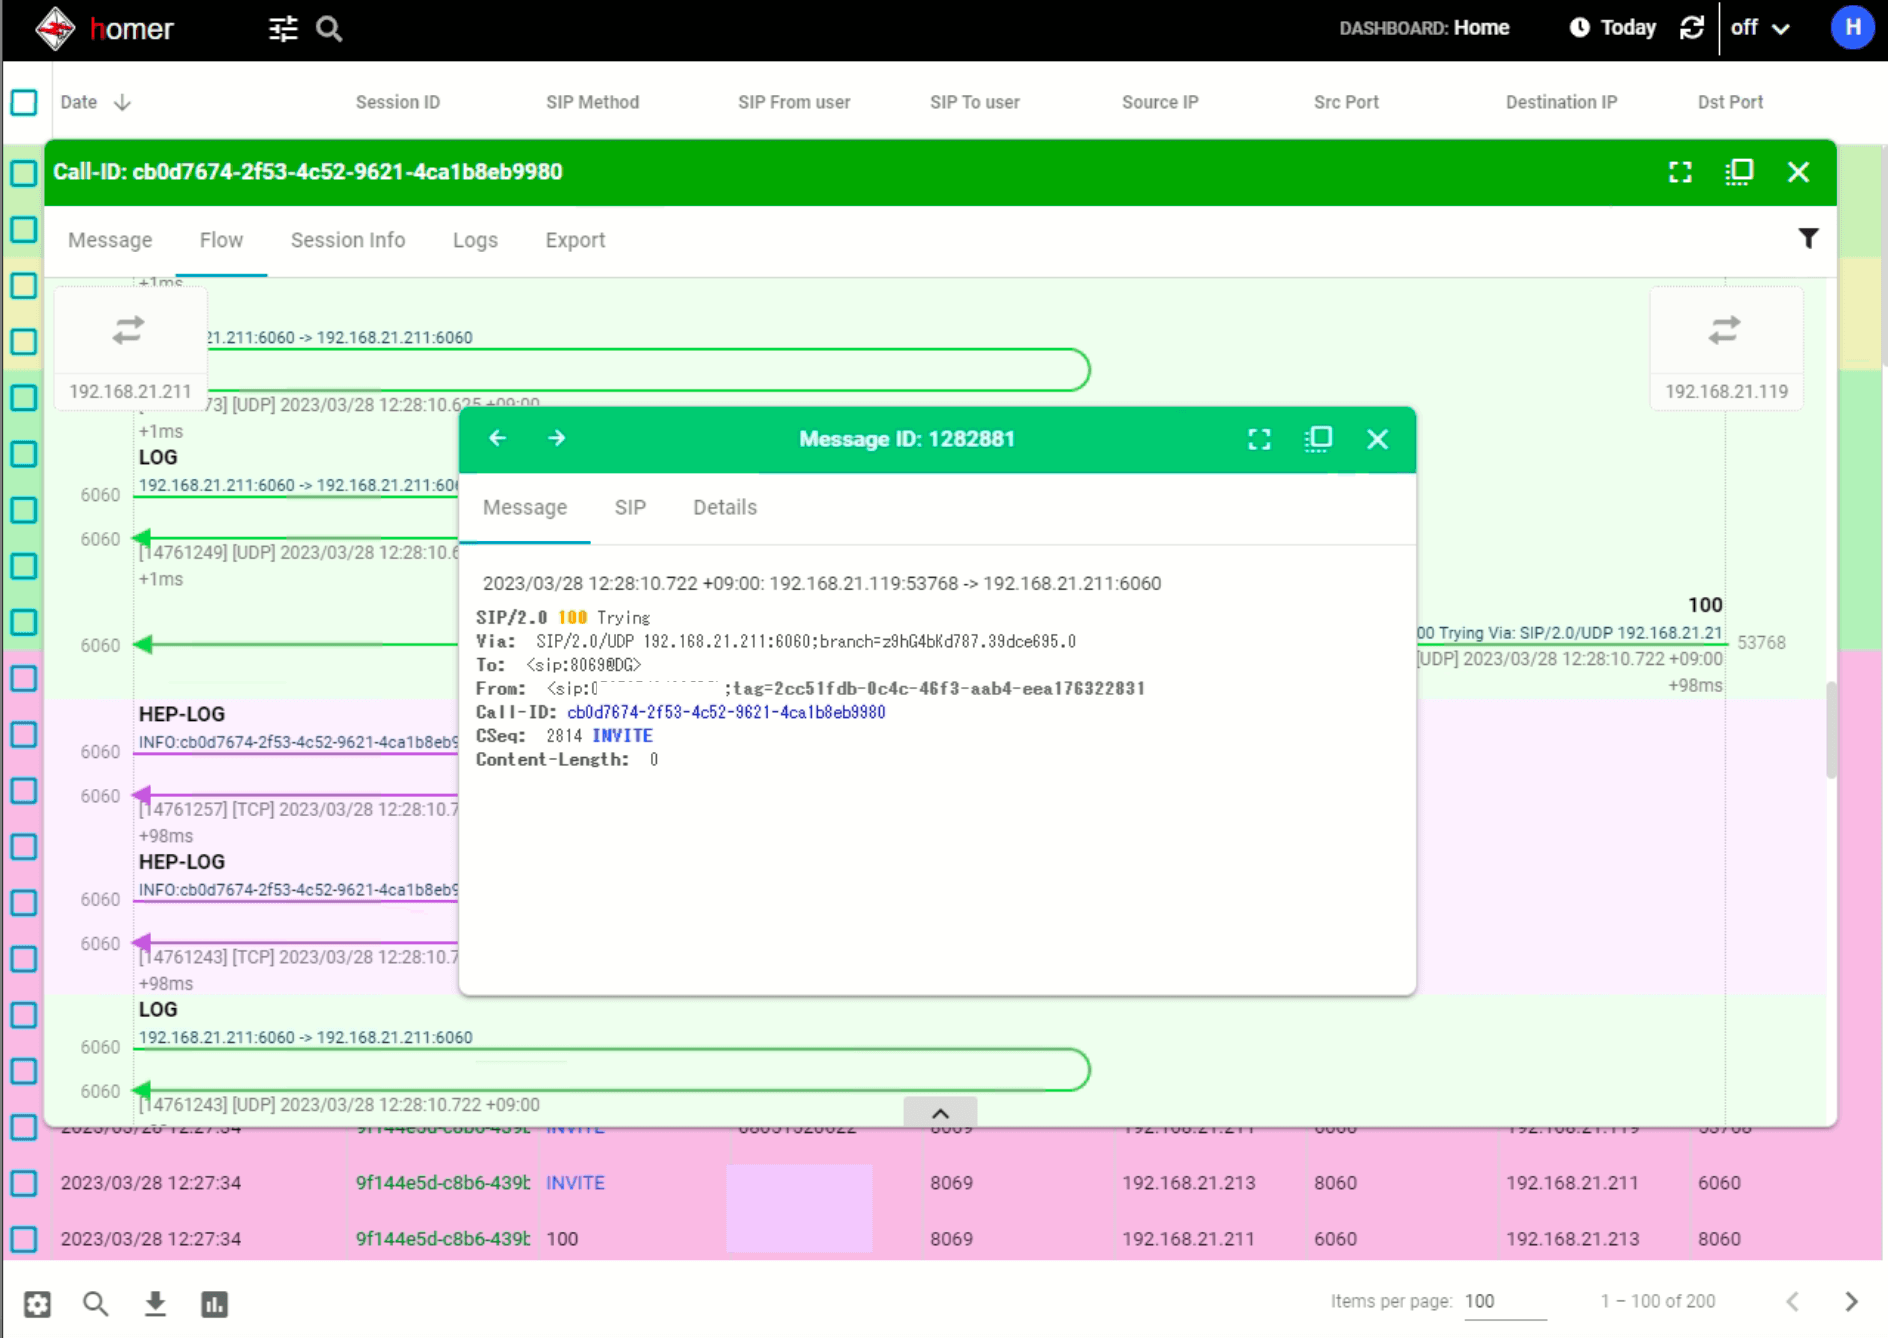
If setting done that send hep from SIP server to Homer you can see SIP flow and SIP message from GUI.