What is ZABBIX Proxy
ZABBIX Proxy is a child ZABBIX Server without GUI.
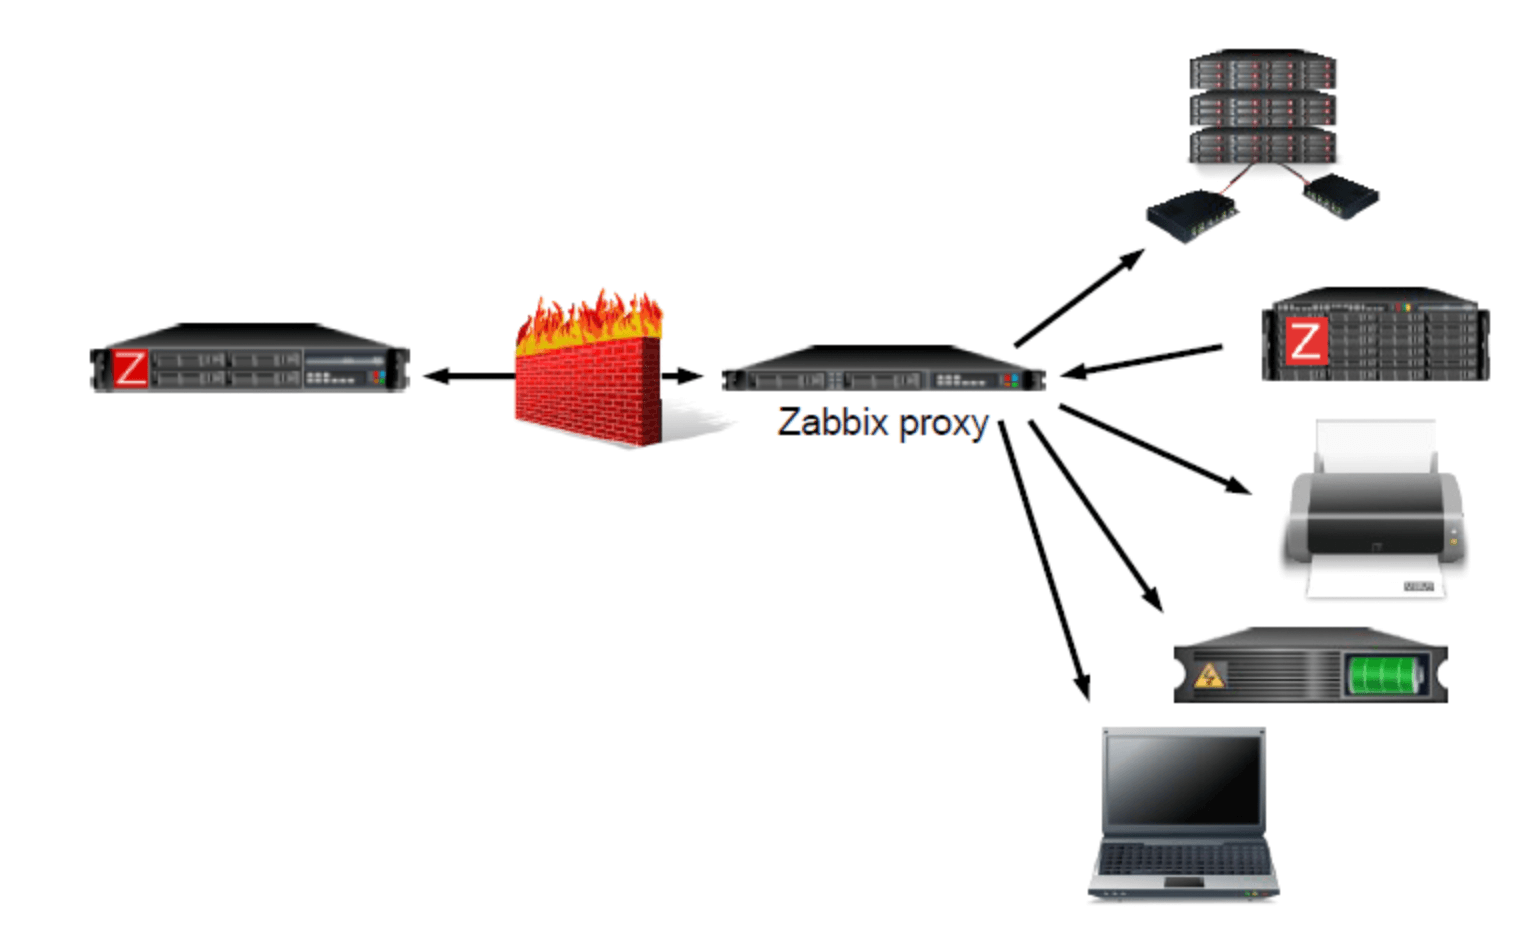
Proxy collects information from monitoring targets that cannot be directly accessed from ZABBIX Server (cannot access ZABBIX Server) and sends it to parent ZABBIX Server.
It is used when monitoring a server in a closed environment from the outside.
Since it works in both passive and active modes, the proxy itself does not necessarily need to be accessible from ZABBIX Server.
Install
The Proxy must match the same major version as the Server.
CentOS 7 ZABBIX 5.4 is used as an example.
Add repository
Add repository with rpm command.
Install Proxy
This time, I specified the version to 5.4.3 and installed it.
The package differs depending on the DB to be used.
https://repo.zabbix.com/zabbix/5.4/rhel/7/x86_64/
Create DB user
DB requirements are the same as the corresponding ZABBIX Server.
https://www.zabbix.com/documentation/5.4/en/manual/installation/requirements
Import schema
Normally /usr/share/doc/zabbix-proxy-mysql*/schema.sql.gz is used, but for some reason there is no schema when Proxy 5.4 is installed with yum.
So I extract the schema from the source code and use it.
There is no schema for Proxy, and the one for Server is used.
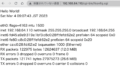
Setting for ZABBIX Proxy
ProxyMode=0 active mode
ProxyMode=1 passive mode
Server= address of ZABBIX Server

Set Proxy to ZABBIX Server
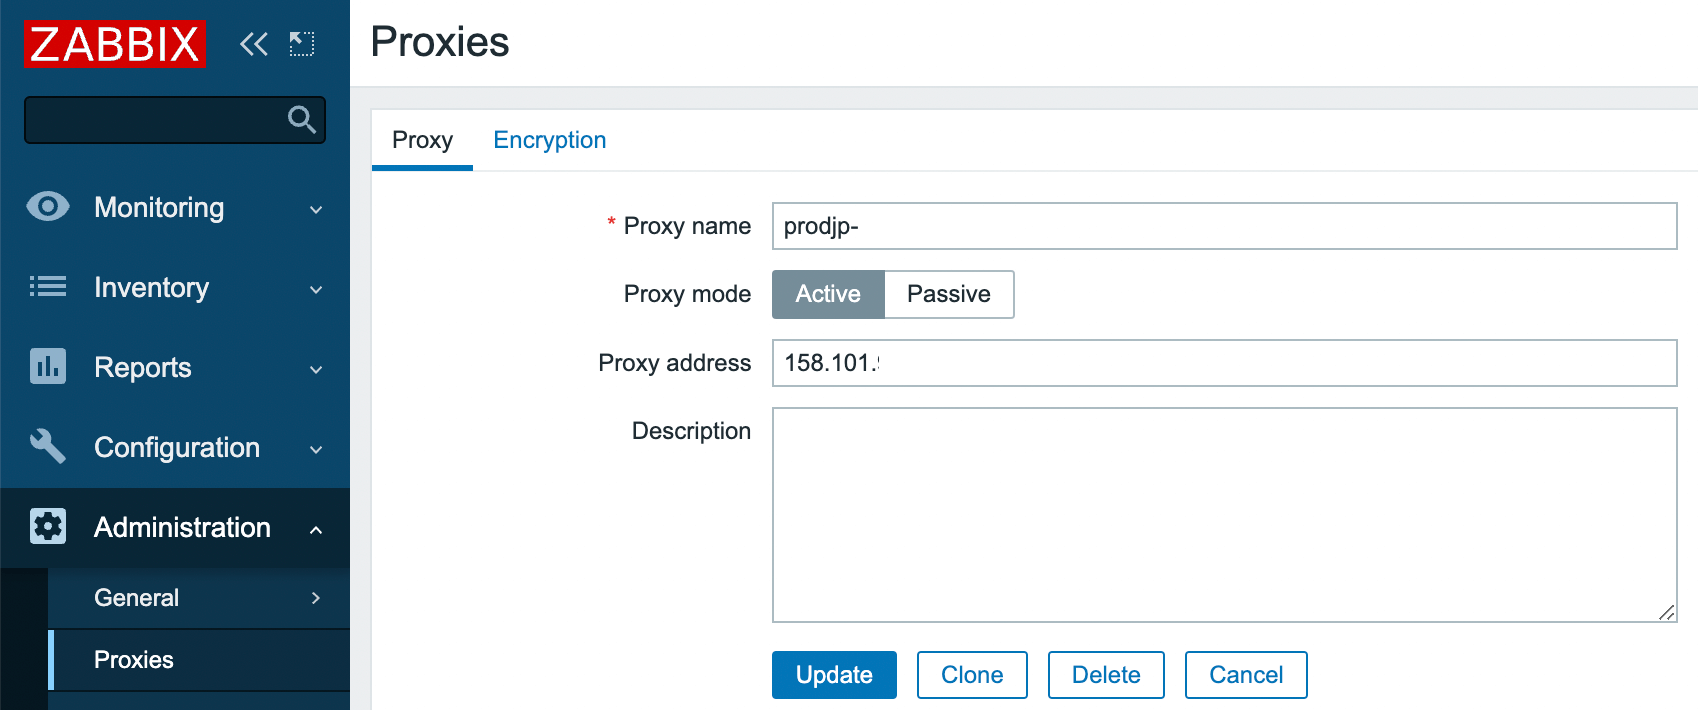
Match the proxy name to the Hostname in conf
Select mode from active/passive
Set proxy address
*When encrypting communication between Server and Proxy, set from the Encryption tab.
Set the host to be monitored by Proxy
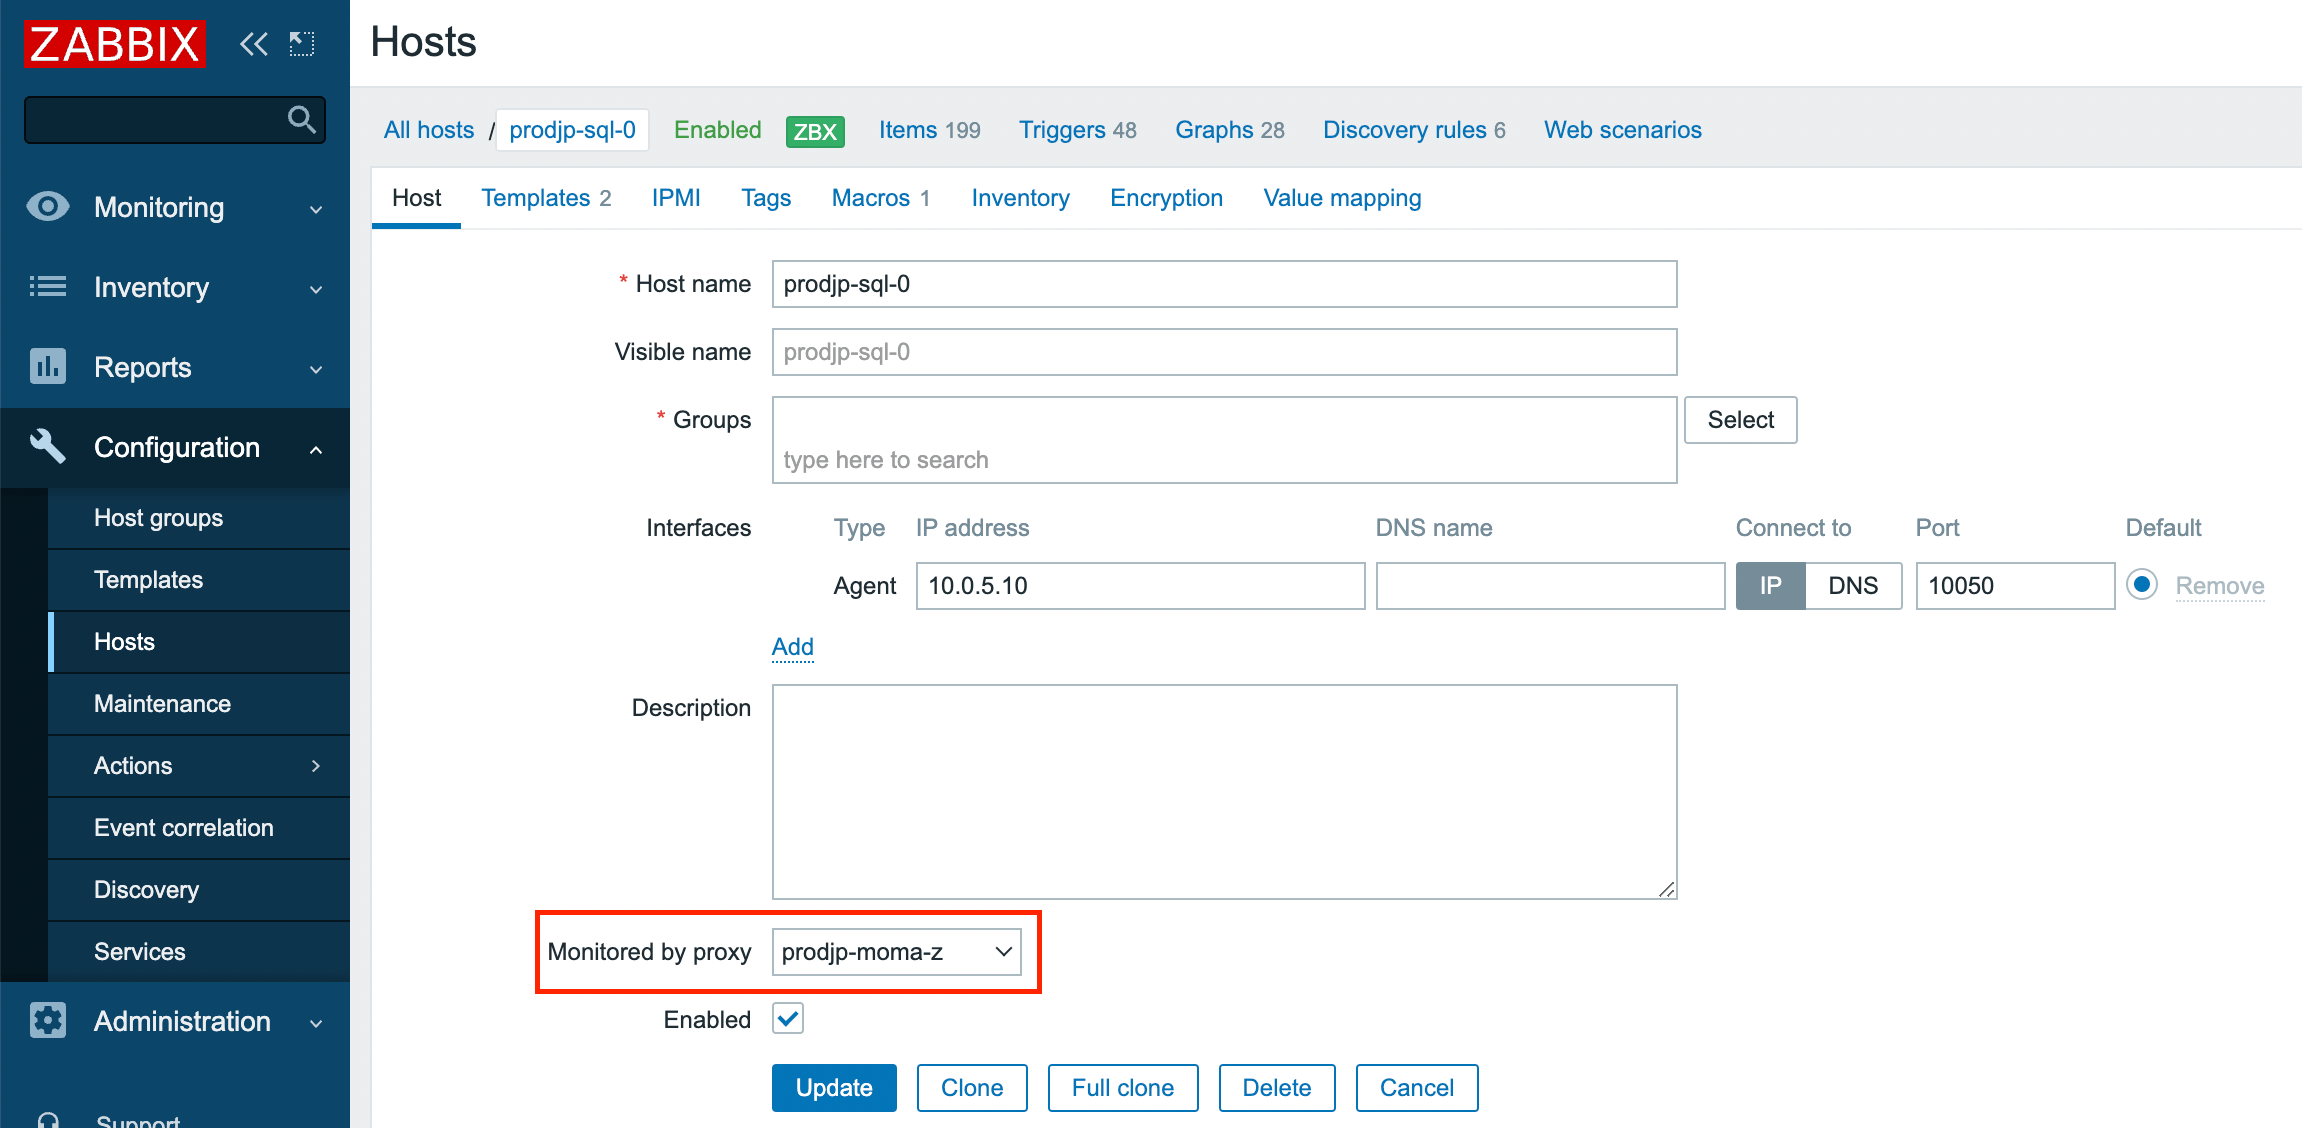
Add the host and set the local address in the same way as normal host addition.
Select a proxy from “Monitoring by proxy”.
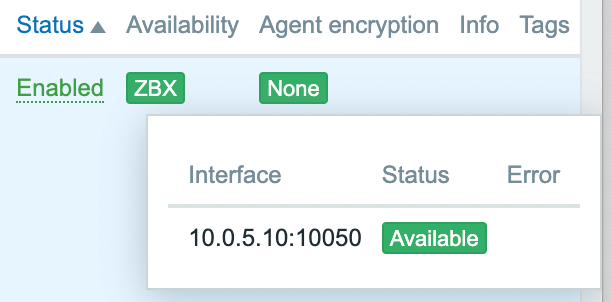
Assign the template and check the agent status is green from the host list.
Check that data is coming in with the latest data.
If the status is not become green
Check if there is information to be monitored in the table hosts of DB “zabbix_proxy”.
If not, it means Proxy is not able to communicate with ZABBIX Server.
Next, use ping, telnet, zabbix-get, etc. from the Proxy to check if the Proxy can communicate with the monitored target.
Summary
When servers exist in multiple locations, it is smarter to build a proxy and centrally manage them rather than building and managing ZABBIX Servers for each location.
Multiple locations can be monitored from a single GUI.
Installation and setting are not difficult, so I would like you to use it.